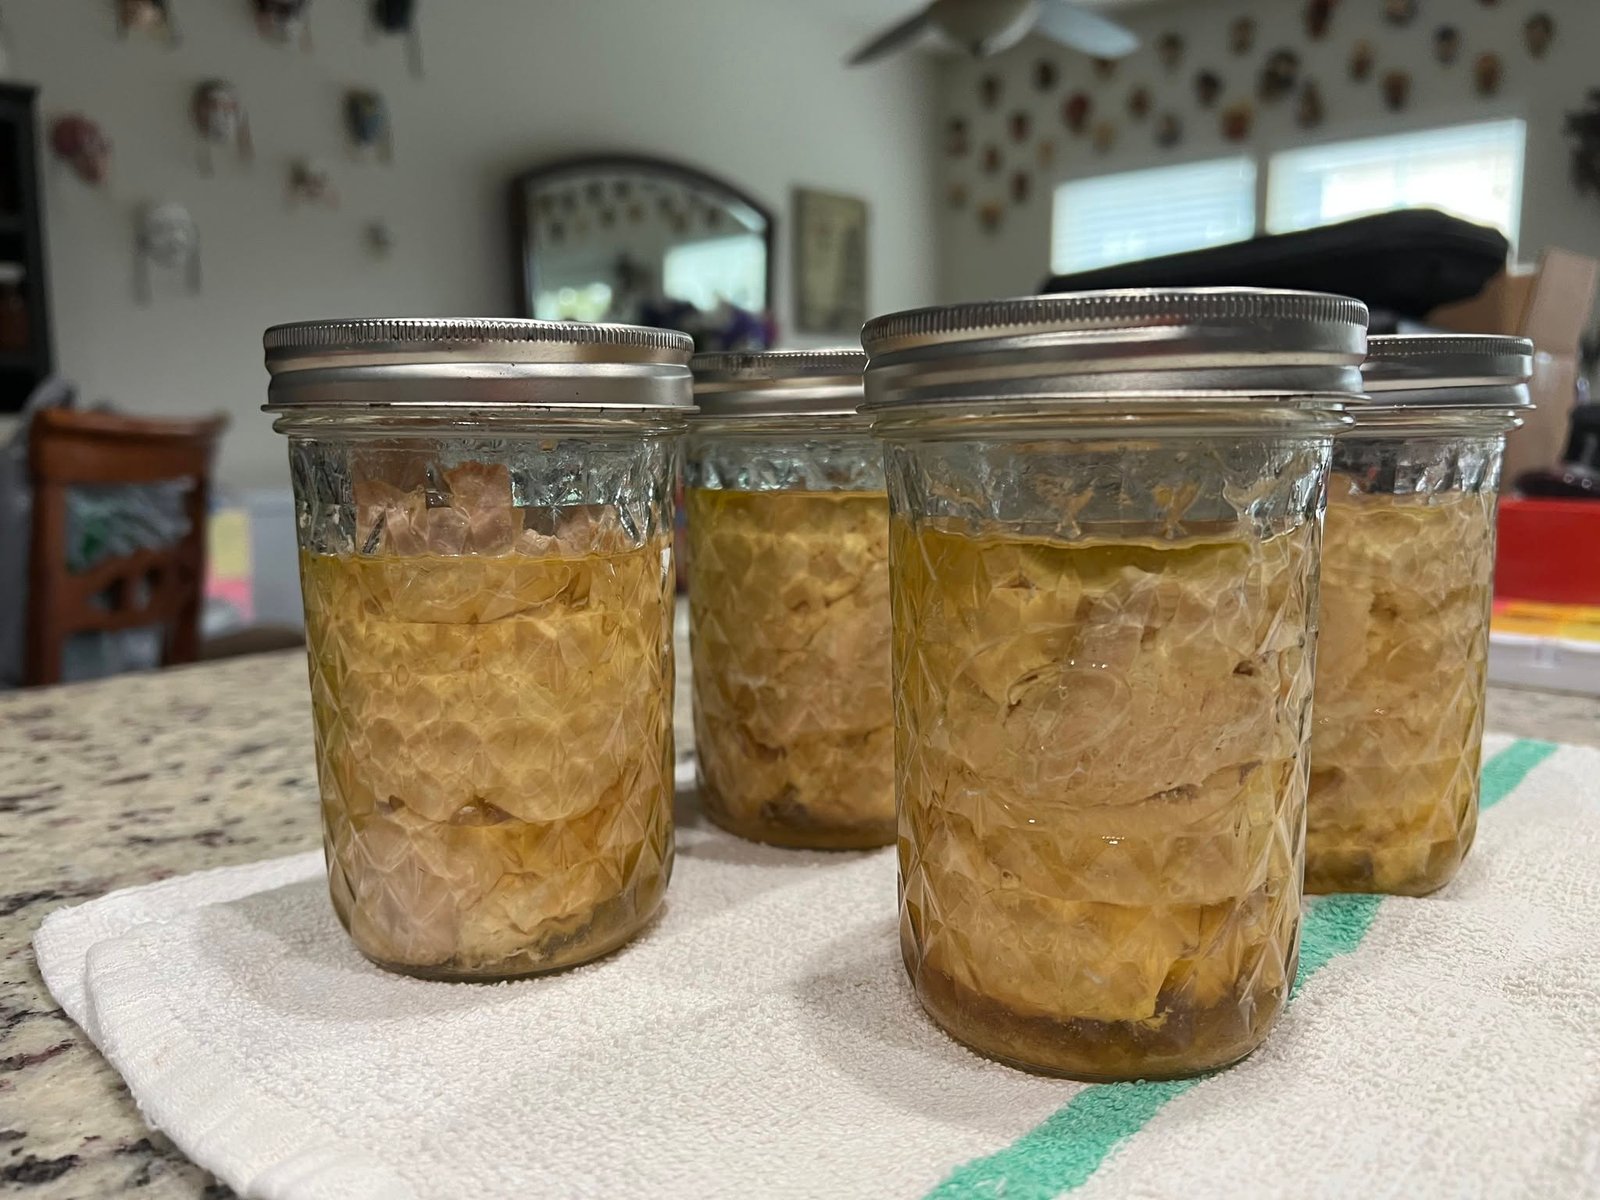
Nothing compares to the crisp, tangy flavor of homemade sauerkraut. This traditional fermented cabbage recipe requires only two ingredients—fresh cabbage and salt—but the result is packed with flavor, probiotics, and nutrients. Whether you’re making it for sandwiches, hot dogs, salads, or simply enjoying it as a healthy side dish, homemade sauerkraut is surprisingly simple to prepare.
Unlike store-bought versions that are often pasteurized, homemade sauerkraut contains live beneficial bacteria that naturally develop during fermentation. These probiotics support gut health while creating the signature sour flavor that makes sauerkraut so popular.
This beginner-friendly recipe walks you through every step, from shredding the cabbage to fermenting it safely in mason jars.
Why You’ll Love This Recipe
- Only two simple ingredients
- Naturally fermented with no vinegar
- Rich in probiotics
- Budget-friendly
- Great for meal prep
- Lasts for months in the refrigerator
- Delicious on burgers, sandwiches, sausages, tacos, and salads
Ingredients
- 2 medium green cabbages (about 5 pounds)
- 3 tablespoons fine sea salt or kosher salt (non-iodized)
Optional additions:
- 1 teaspoon caraway seeds
- 1 teaspoon mustard seeds
- 1 teaspoon black peppercorns
- 2 cloves garlic, sliced
- Juniper berries (optional)
Kitchen Equipment
- Large mixing bowl
- Sharp knife or mandoline
- Cutting board
- Clean mason jars
- Fermentation weights (optional)
- Lid with airlock or regular mason jar lid
- Clean kitchen towel
Step 1: Prepare the Cabbage
Remove any damaged outer leaves and set one clean leaf aside.
Cut the cabbage into quarters and remove the core.
Thinly slice the cabbage into fine strips using a sharp knife or mandoline slicer.
Place all shredded cabbage into a large mixing bowl.
Step 2: Add Salt
Sprinkle the salt evenly over the cabbage.
Using clean hands, massage the cabbage for about 10 minutes.
As you massage, the cabbage begins releasing its natural juices. This liquid will become the fermentation brine.
The cabbage should become soft, flexible, and noticeably smaller in volume.
Step 3: Add Optional Seasonings
If desired, mix in:
- Caraway seeds
- Garlic
- Peppercorns
- Mustard seeds
These ingredients add extra flavor while maintaining the traditional fermented taste.
Step 4: Fill the Jars
Pack the cabbage tightly into clean mason jars.
Press firmly after each handful to remove trapped air.
The natural juices should rise above the cabbage.
Leave about 1 inch of headspace at the top.
If necessary, pour in extra brine made from:
- 1 cup filtered water
- 1 teaspoon sea salt
Only use additional brine if the cabbage isn’t fully submerged.
Step 5: Keep the Cabbage Under the Brine
Place the reserved cabbage leaf over the shredded cabbage.
Add a fermentation weight or another small clean jar to keep everything below the liquid.
This prevents mold and encourages healthy fermentation.
Step 6: Ferment
Loosely screw on the lids.
Place jars on a tray to catch overflow.
Store at room temperature between 65–72°F (18–22°C).
Ferment for:
- 3–5 days for mild flavor
- 1–2 weeks for classic sauerkraut
- 3–4 weeks for deep, tangy flavor
Taste every few days until it reaches your preferred sourness.
Step 7: Refrigerate
Once the sauerkraut tastes perfect, tighten the lids and refrigerate.
Cold storage slows fermentation and preserves flavor.
Homemade sauerkraut stays fresh for 3–6 months.
Tips for Success
- Always use fresh cabbage.
- Avoid iodized table salt.
- Keep cabbage completely submerged.
- Use clean utensils.
- Never seal jars tightly during active fermentation.
- If foam appears, simply skim it away.
- A slightly sour smell is completely normal.
Common Mistakes
Using Too Little Salt
Too little salt can allow unwanted bacteria to grow.
Not Packing Firmly
Loose cabbage traps air and slows fermentation.
Cabbage Above the Brine
Anything exposed to air may develop mold.
Warm Temperatures
High temperatures can make the sauerkraut overly soft.
Flavor Variations
Garlic Sauerkraut
Mix sliced garlic into the cabbage before fermenting.
Caraway Sauerkraut
Traditional German-style flavor with caraway seeds.
Spicy Sauerkraut
Add sliced jalapeños or red pepper flakes.
Apple Sauerkraut
Mix shredded apple into the cabbage for natural sweetness.
Beet Sauerkraut
Add shredded beetroot for vibrant color and earthy flavor.
Serving Ideas
Homemade sauerkraut pairs well with:
- Hot dogs
- Bratwurst
- Burgers
- Grilled chicken
- Roast pork
- Reuben sandwiches
- Tacos
- Grain bowls
- Salads
- Mashed potatoes
It also makes a delicious probiotic-rich snack straight from the jar.
Storage
Keep refrigerated after fermentation.
Always use a clean fork when serving.
Properly stored sauerkraut stays fresh for up to 6 months.
Frequently Asked Questions
Is homemade sauerkraut healthy?
Yes. It’s naturally rich in probiotics, vitamin C, vitamin K, fiber, and beneficial bacteria that support gut health.
Can I use purple cabbage?
Absolutely. Purple cabbage creates beautiful pink-purple sauerkraut with the same fermentation process.
Does sauerkraut need vinegar?
No. Traditional sauerkraut relies on natural lactic acid fermentation, not vinegar.
How do I know when it’s done?
Taste is the best indicator. Once it reaches the tanginess you enjoy, move it to the refrigerator.
What if white foam appears?
A small amount of white foam is normal during fermentation. Remove it if needed and ensure the cabbage remains submerged.
Nutrition (Approximate Per Serving)
- Calories: 15
- Carbohydrates: 3g
- Protein: 1g
- Fat: 0g
- Fiber: 2g
- Sodium: 230mg
- Vitamin C: 20% DV
- Vitamin K: 25% DV
Final Thoughts
Making homemade sauerkraut is one of the easiest and most rewarding fermentation projects for beginners. With just cabbage, salt, and a little patience, you’ll create a crisp, tangy condiment that’s packed with natural probiotics and fresh flavor. Whether you enjoy it on sandwiches, alongside grilled meats, or as a healthy snack, this traditional recipe is a timeless kitchen staple that only gets better with practice.

Leave a Reply